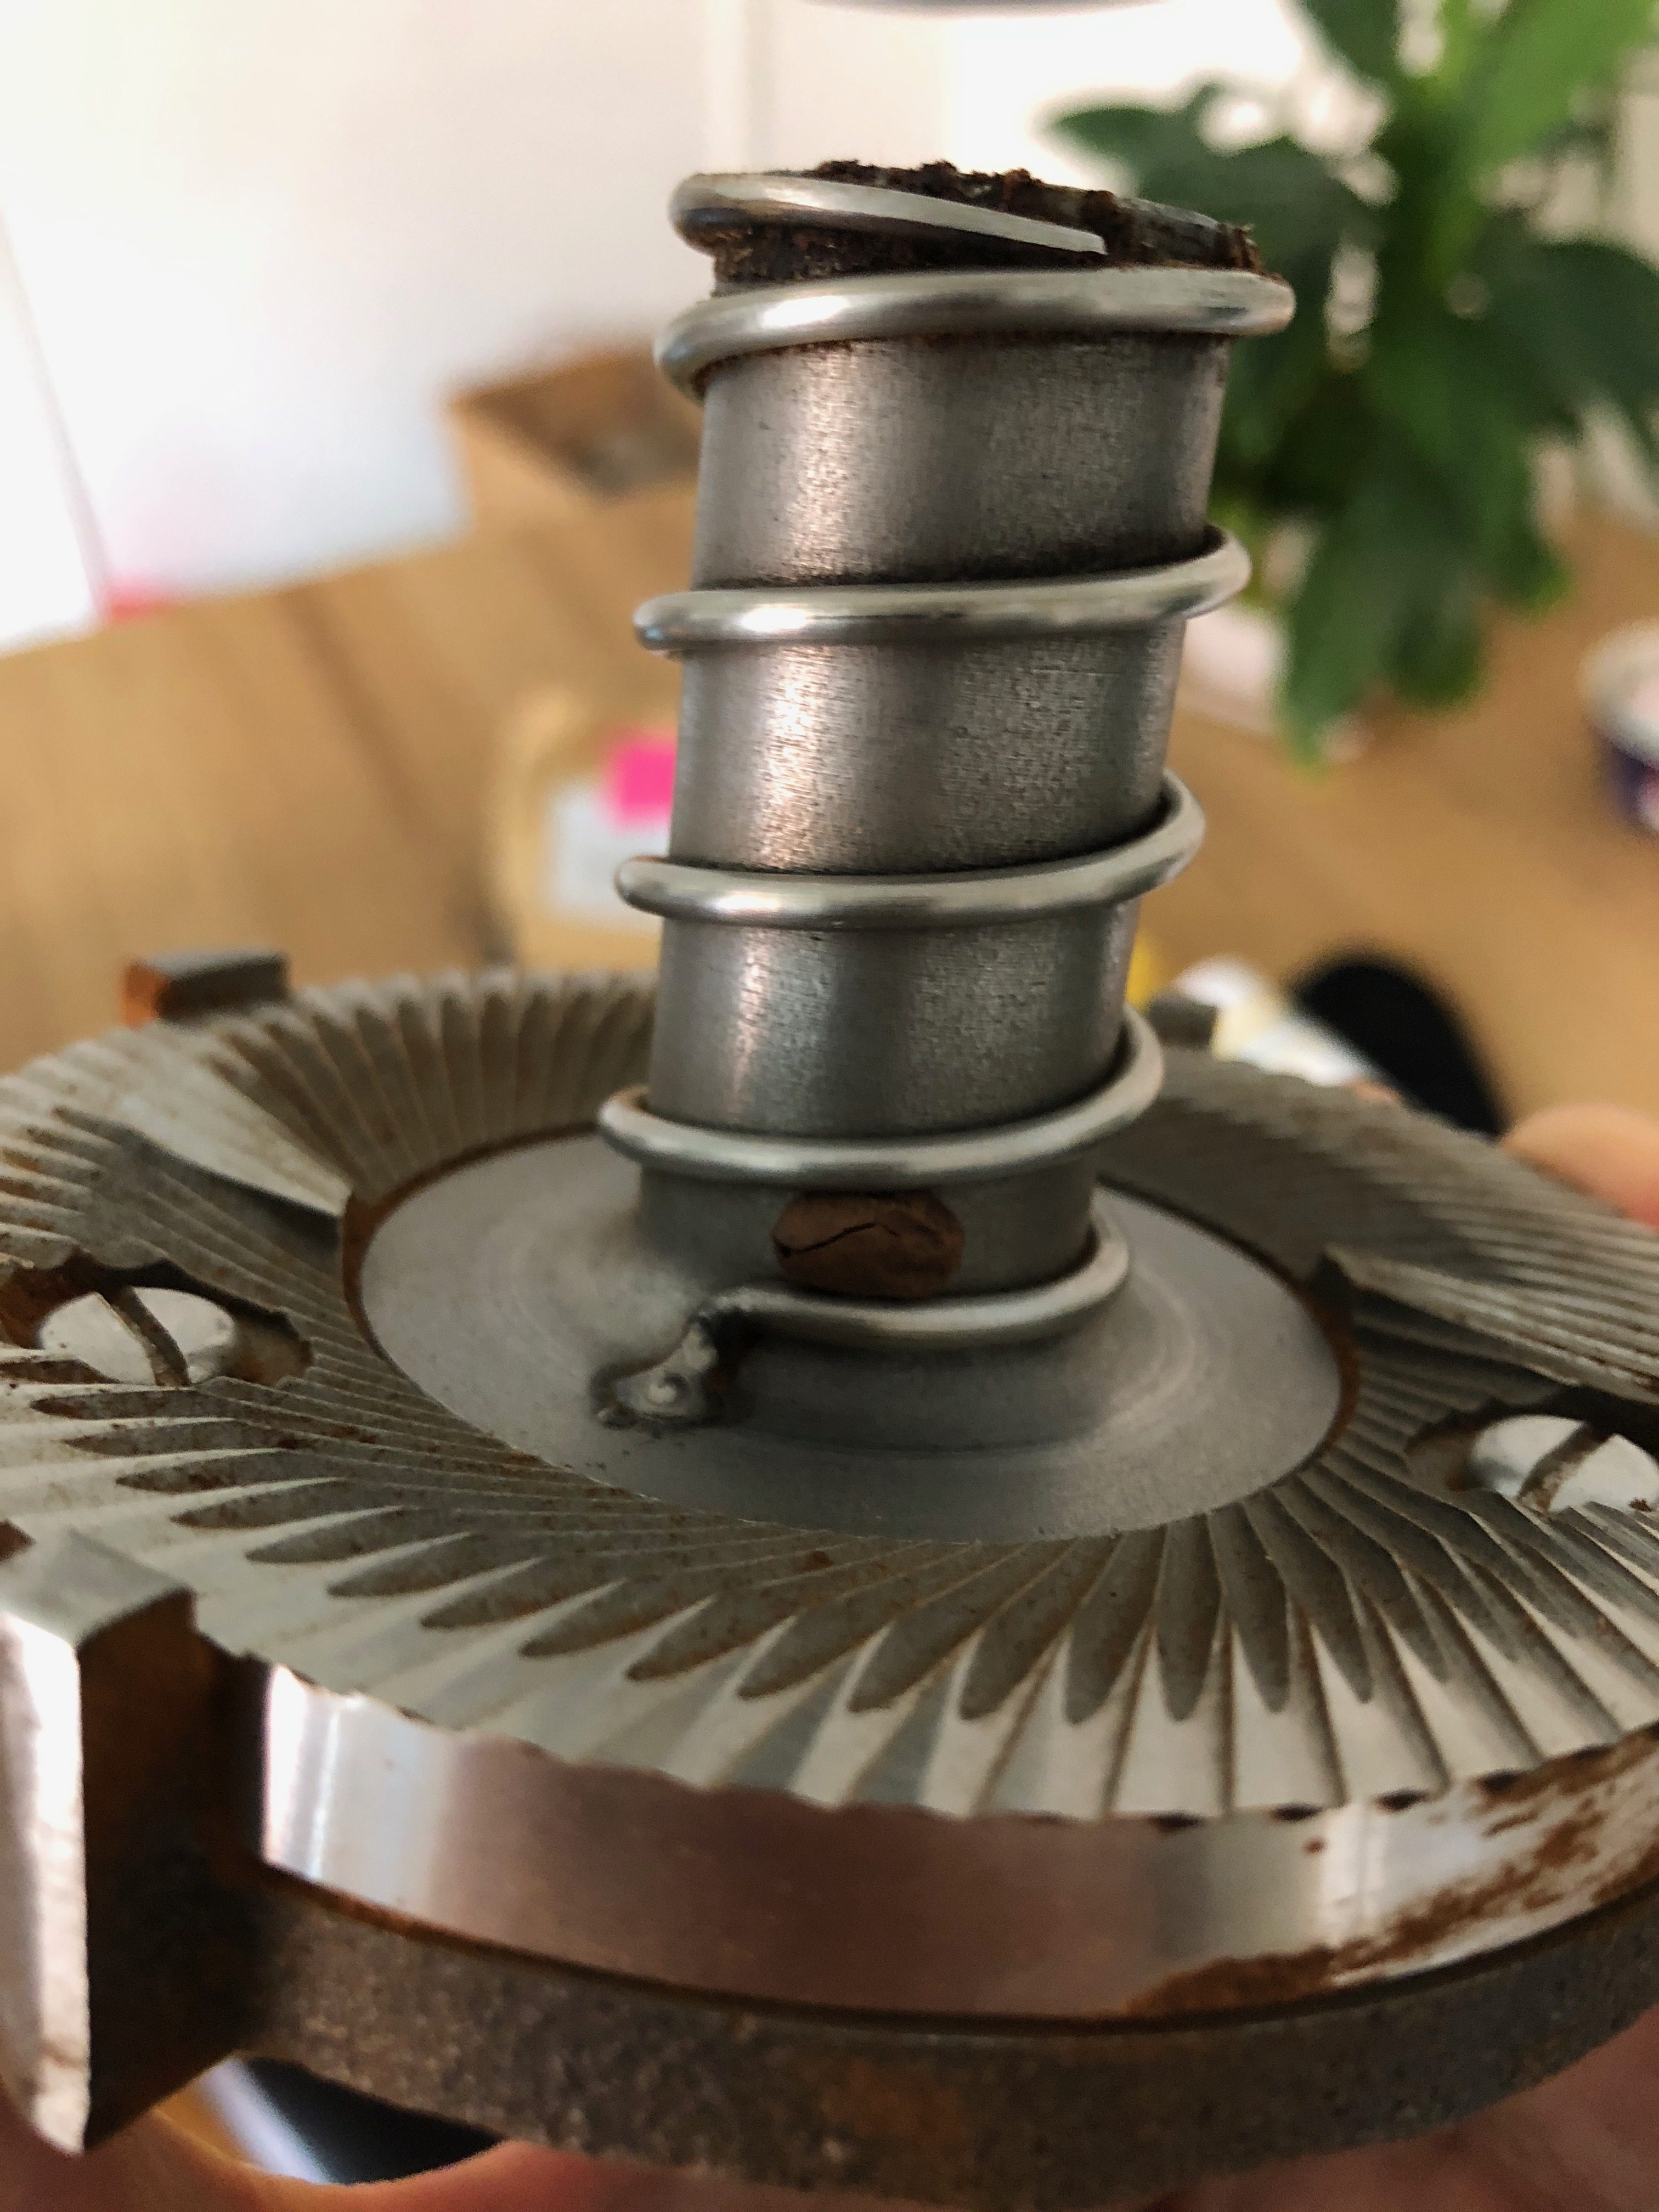
How to get the best tasting coffee from your grinder.
Exactly how much side by side the two burrs are placed in the grinder has importance for the particle distribution of the coffee grind. This is called burr alignment.
Such difference in particle distribution was measured in a project done by Christopher Hendon, Matt Perger and more, see https://baristahustle.com/grinder-paper-explained/ This graph is from Supporting Information. The blue curve is good alignement of the burrs with. They grey curve is bad aligned burrs:
 Warning: Trying to align your grinder may drive you nuts ;-) Most grinders are not build to get adjusted in the alignment. A few new ones are, but they are crazy expensive. So if your grinder doesn’t really got a problem – don’t touch it.
What does it matter for the taste ?
The more alike coffee particles are in size, the more clear taste and aroma.
The more difference in particle size, the more both over- and under-extracted coffee (mix of bitterness, bad flavours, sour).
Where as fines is another story – see The taste of fines.
How can you tell bad grinder alignment ?
By taste
Good alignment makes the aroma characteristics of the coffee stand out more clear.
By how it looks when brewing
When making a filter brew you adjust the grind size according to the time it takes for the water to pass. Some aim at 2:20 minutes, others at 3-4 minutes. If the water takes too long to drain through, then grind coarser. Too quick then grind finer.
 This photo is a V60 brew from a bad aligned grinder:
1) a little coarse grind is left high in the filter (called “high & dry”)
2) the drain slowed down, when still 1-2 cm water stood above the grind in the filter. Very little coffee dripped through = too many fine particles clogging the filter.
So this grind had both too big particles (= boulders) and too many fine particles = typical for bad alignment of the burrs.
Paint with a whiteboard pen
Paint the burrs (do NOT use a permanent marker) and then run the grinder while gently letting the two burrs touch – you can hear the burrs making a chirping sound.

If the paint is not worn off the same all the way around → it means some of the burr is higher than others.
Here you can see the blue worn off in the front – whereas in the back it’s still all blue:

By sound
Matt Perger did this sound diagnosing of burr alignment of the EK43 grinder
https://www.youtube.com/watch?v=_jWlpz9mELM
Here you can hear the chirping sound of burrs touching with a Mazzer Super Jolly grinder https://youtu.be/xrNYzvXq8i0 First only by ajusting to zero. Later by pressing the adjustment collar on one side. Thats how sensitive the burrs are.
Waveforms
The waveforms from the sound of chirping on a grinder looks like this. Jon have recorded the sound of his own Ditting grinder – and compared it to the recordings from Matt Pergers video with the 4 states of EK43 alignment:

Bad aligned burrs will touch once pr rotation – this makes a clear single peak in the waveform. More peaks pr rotation indicates a better alignment, as more peaks indicates more contact between the burrs through the rotation.
Ideal aligned burrs would touch the entire rotation, making very long series of equal sized peaks per rotation.
Screaming burrs when grinding beans
If your grinder is making a terrible noise when you grind beans (at normal setting and not at low setting where the burrs touch) … you might have this problem:
A bean got stuck in the prebreaker. When new bean goes in, the burrs are pressed out of shape and touch on the opposite site.
Alignment is more important with bigger burrs

How to do alignment of your grinder
For Mythos One – can be used for other grinders
Matt North have made this great guide to alignment of the Mythos One grinder Here he use the whiteboard-marker method.
Lido handgrinder from Orphan Espresso
Lido 2: https://www.youtube.com/watch?v=npVWLJnBcAs
combined with this http://coffee.stackexchange.com/questions/2515/how-to-fix-burr-contact-alignment-issues-on-an-oe-lido-hand-grinder-on-fine-grin/2516#2516
Extra: when you have aligned the burrs at fine setting, then go back to normal grind size and grind a handful. This will slightly push the burrs. Then test again at fine setting if the burrs touches.
Lido 1: https://www.youtube.com/watch?v=ok4IQvrTSD4&feature=youtu.be
EK43
Matt Perger using tin foil/ silver papir to adjust: https://www.youtube.com/watch?v=5-cf0Iack5Q. Just be aware that this might deform the burrs, see below.
Using sandpaper https://www.youtube.com/watch?v=4W9H_mocpeg
(one of several videos from Jürgen Peter Ohler)
Good tips when dismantling the EK43: http://grindscience.com/2017/07/my-ek43-tips-and-tricks/
Note: how much the front screws is tighten also affects the alignment https://www.youtube.com/watch?v=V02UBGeLSx8&feature=youtu.be
A third point that affects the alignment – but ONLY do this if you are trained in such maneuver (or you will do more damage than good)
https://www.youtube.com/watch?v=r0RjPFi-Uzg
Socratic Coffee made this analasis of Ek43 grind from before and after alignment
https://www.instagram.com/p/BVpA-vMj8YF/
 Titus grinding just launched this alignment tool to measure the inner burr, here in May 2017.
Frank Durra describes the purpose like this:
“It aligns / measures at the roots of the problem which is the axial alignment of the inner burr due to irregularities of the aluminum case”
Mahlkönig also lounched an alignment tool.
Flat-burr grinders: rotate according to screws
When aligning flat-burr grinders we normally use thin pieces of metal foil to align the burrs – but before using metal foil, another method is to start by mounting the burrs in the different positions, just by rotating the burrs. The burrs themselves should in theory have no differences in height around the burr, but in reality very small differences can occur.
Do not switch the lower burr with the upper burr. The lower burr should always remain the lower and vice verca – this alignment is about rotating the burrs individually to different mounting posistions.
If your burrs has screwholes, rotate the burrs individually to the different screwhole/burr combinations to check if some combinations are better aligned than others. If your burrs has no screwholes, simply rotate the burrs individually to different positions to check if some positions has better alignment than others.
This is the fixed burr on the EK43: first paint with a non-permanent white bord marker
Then collect and run to chirp the burrs. After opening up you see how the chirp has worn off the blue paint. Here it is nicely worn of the whole way around:
 This alignemt was achieved only by rotating the burr; one position was perfect. The two other positions not.
Weakness of metal foil / silverpaper method
When the burrs crush coffee there will be a great force on the burrs. If you have placed metal foil only at one point there will be a bit of space on each side – here the burrs can be deformed by the pressure of the beans during grinding.
Therefor place thinner metal foil on the sides of the highpoint.

Mahlkönig Vario Home / Baratza
Warning: Do only let the burrs touch gently when going for the chirp point. The motor and the construction of the Vario Home is not that strong.
The question is how much you can align the Vario since the construction is not that strong. This alignment I did with Andreas. He found the alignment did make a small difference: more clarity and sweetness in his filterbrew coffees. But he let the burrs touch too much – and ever since the grinder has been much noisier when running.
Procedure:
First test the 3 positions how the upper burr is fixed in the white holders. Test by seeing at what point on the setting you get the chirp sound.
Paint both upper and lower burr. In this case the blue marker on the lower burr was nicely worn off the whole way around. So no need to do anything here.
Then try the 3 position of how the upper burr is attached to the burr carrier (loosen the 3 screws).
Here you can see markings from rotating the upper burr (the fixed burr).

In the first position the wearing off area was marked by two red L’s; one at each starting point and pointing in the direction of the wear off. It was almost 80%.
The black marks (one L and one l) is in the second position. Here only 40% of the circle was worn off.
The third position is where the blue marker is worn off. It’s almost 50% of the circle.
So the first position was the best.
When placing metal foil / silver paper – be aware that it doesn’t curl up on the sides.